Portrait Pencil Sketch from Photo: A Simple Preparation Guide
Learn how to choose, crop, and prepare a portrait photo for a clean pencil sketch or minimalist profile picture sketch online.
Quick Answer
How do you make a portrait pencil sketch from a photo?
To make a portrait pencil sketch from a photo, start with a sharp headshot or selfie where the face is easy to see, crop close enough that the head and shoulders fill most of the frame, then choose a portrait sketch style that keeps the most recognizable facial lines. The result should read as a person first and an art style second.
This is especially important if you want a profile picture sketch. At small sizes, tiny clothing detail, room texture, and background objects disappear. The face shape, eyes, hairline, mouth, and expression do the real work.

Best Inputs
The portrait photos that usually become the best sketches
The best portrait photos are not always the most polished photos. A studio headshot can work, but a clear phone selfie can work too if the face is sharp and the lighting is simple. The main question is whether someone could recognize the person from the large shapes before seeing the small details.
Look at the photo before uploading. If the eyes are clear, the mouth shape is visible, and the face does not blend into the background, the sketch has a good starting point.
- Use a photo where the face takes up about 60 to 80 percent of the final crop.
- Choose front-facing or slight three-quarter portraits before using extreme side angles.
- Keep both eyes visible when possible, especially for profile pictures and avatars.
- Use soft daylight, window light, or even indoor light instead of harsh flash or deep shadow.
- Avoid sunglasses, heavy filters, motion blur, low-resolution screenshots, and busy rooms behind the subject.
Before Uploading
How to prepare a headshot before converting it
Most portrait sketch problems are easier to prevent before conversion than to fix afterward. You do not need advanced editing. A better crop, a clearer face, and a calmer background are usually enough.
Think about where the final sketch will be used. A LinkedIn-style profile image, a creator avatar, and a personal art print do not need the same amount of detail. For small profile images, clarity beats complexity.
Crop close to the face and shoulders
Remove extra ceiling, furniture, wall art, and empty space. A tighter crop gives the sketch more room to describe the eyes, nose, mouth, jaw, and hair shape.
Check the eyes at full size
If the eyes are blurry in the source photo, the sketch will usually feel less personal. Pick a frame where the eyes have a clear edge and a little catch light.
Prefer simple backgrounds
A plain wall, soft blur, or open background helps the face stand out. Busy shelves, plants, posters, and patterned fabric can add lines that compete with the portrait.
Keep the lighting readable
Strong side light can look dramatic, but very dark shadows may hide facial structure. Use a photo where both the light side and shadow side still show enough shape.
Style Choice
Pencil sketch vs minimalist portrait sketch
A traditional portrait pencil sketch often keeps more shading, hair texture, clothing folds, and background tone. That can be beautiful for an art print, but it may be too busy for a small avatar or profile picture.
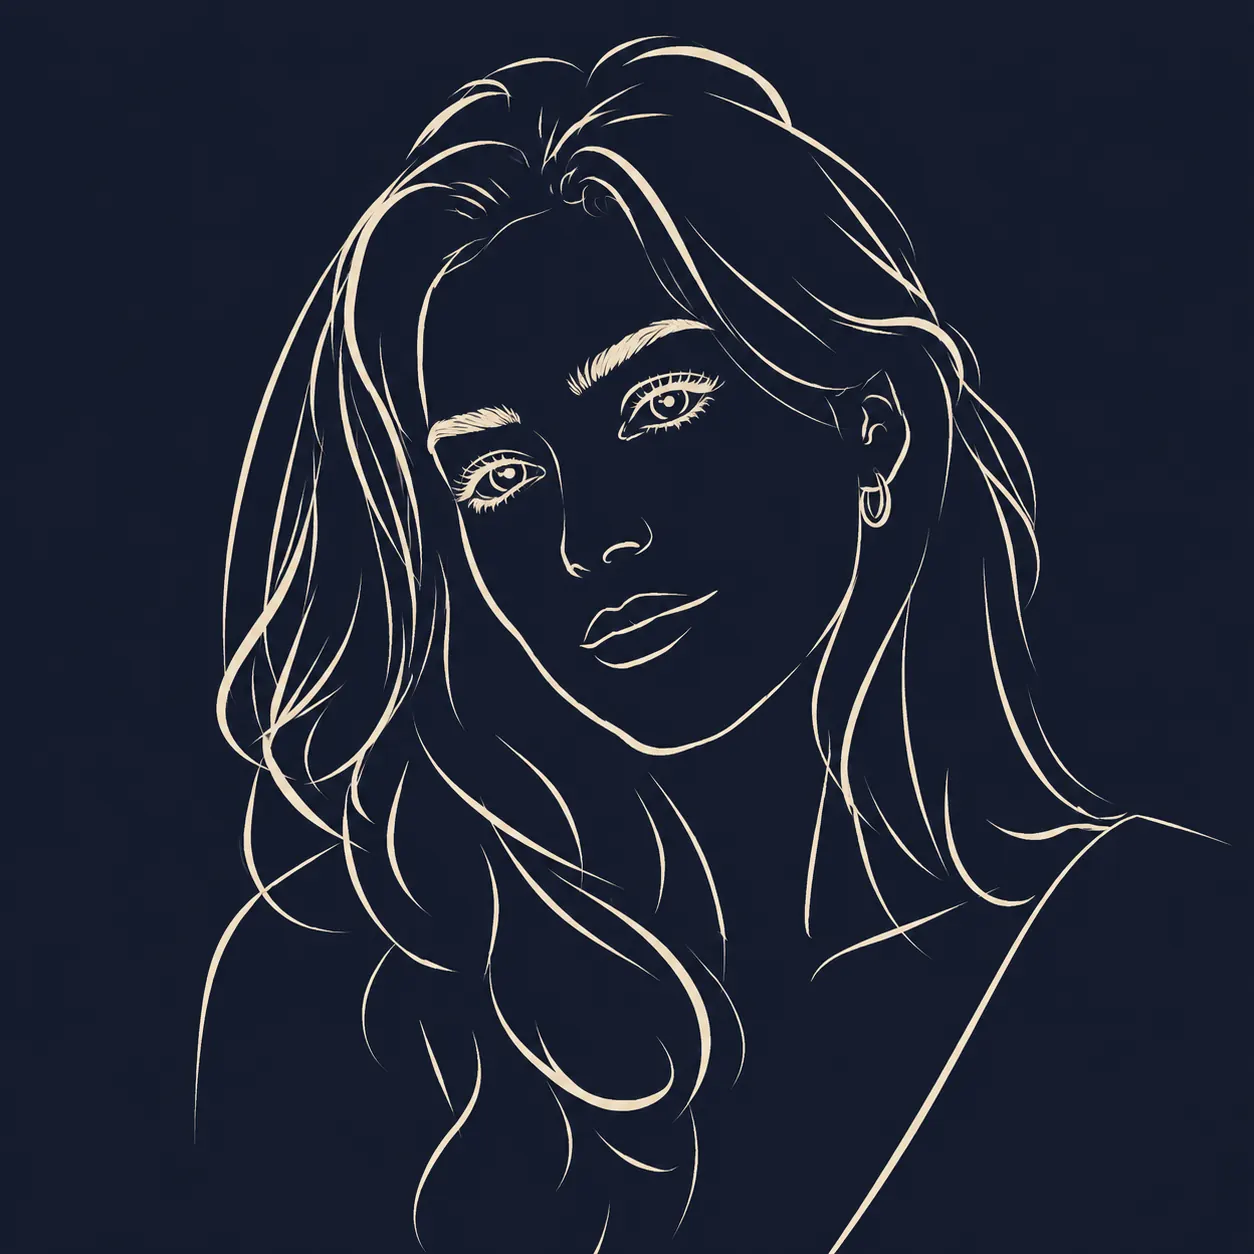
A minimalist portrait sketch does the opposite. It removes most texture and keeps only the lines that make the face recognizable. This can feel less literal, but it is often stronger for social media because the result stays readable at small sizes.
- Choose pencil sketch when you want a softer drawing with more shading and texture.
- Choose portrait sketch when you want a cleaner face-first image for a profile picture.
- Choose line drawing when you want general outlines from a full photo rather than a face-focused result.
- Choose coloring page when you need broad black-and-white shapes for printing or coloring.
Troubleshooting
How to fix a portrait sketch that does not look like you
When a portrait sketch feels wrong, the issue is usually not one single missing line. It is usually the source photo asking the sketch to solve too many problems at once: a dark face, busy background, tilted angle, heavy filter, or tiny crop.
Start with the easiest fix. Pick a clearer photo or crop closer before trying to force the first image to work. Portrait sketches rely on recognition, and recognition needs the main facial structure to be visible.
- If the face looks generic, use a photo with a stronger expression or clearer eyes.
- If the sketch looks too busy, crop tighter and remove background texture.
- If the hair becomes a dark patch, choose a brighter photo with more separation around the hairline.
- If the nose or mouth disappears, avoid overexposed photos and heavy beauty filters.
- If the result looks stiff, try a relaxed three-quarter angle instead of a flat ID-photo pose.
Profile Use
Profile picture sketch tips
A profile picture has a harder job than a full-size portrait. It needs to work in a small circle, next to a name, inside comments, and on mobile screens. That means the best sketch is often simpler than the version you might print.
After creating the portrait sketch, preview it small. If you can still tell who it is at thumbnail size, the image is doing its job. If not, use a closer crop or a photo with a cleaner face outline.
- Use a square crop when the final image will be used as an avatar.
- Keep the face centered with a little space above the head and around the shoulders.
- Avoid thin lines that disappear when the image is reduced to 64 or 128 pixels wide.
- Use a light or plain background if the platform displays avatars in small circles.
- Download more than one version if you are choosing between a professional profile and a casual creator avatar.
FAQ
Portrait pencil sketch from photo FAQ
These are the questions people usually ask before turning a selfie, headshot, or portrait photo into a sketch.
Can I turn a selfie into a portrait sketch?
Yes. Selfies can work well when the face is sharp, well lit, and not heavily filtered. A simple background and a close crop usually create a cleaner portrait sketch.
What background works best for a portrait sketch?
A plain wall, soft blur, or simple outdoor background works best. Busy shelves, patterned fabric, and strong background lines can compete with the face.
Is a portrait sketch good for profile pictures?
Yes. A minimalist portrait sketch can work well as a profile picture because it keeps the face recognizable while giving the image a more personal drawn style.
What is the difference between portrait sketch and line art?
Portrait sketch focuses on the face and removes most nonessential detail. Line art usually traces more of the full photo, including clothing, background, and object outlines.
Do I need a professional headshot?
No. A clear phone photo can work if the face is close, sharp, and well lit. Professional headshots help, but preparation matters more than the camera label.
Create a portrait sketch from your photo
Upload a selfie, headshot, or profile photo and compare the minimalist portrait sketch result with the original image.
Make a portrait sketch