Best Photos for Pet Sketches: Fur, Eyes, and Clean Detail
Learn which pet photos make the best sketches, how to prepare fur and face details, and what to fix when a dog or cat sketch looks too busy.
Quick Answer
What makes a pet photo good for sketching?
The best pet photo for a sketch has a sharp face, visible eyes, clear nose and ear shapes, and enough light to separate the pet from the background. For cats and dogs, the face usually matters more than the full body because people recognize the pet through the eyes, muzzle, markings, and head shape first.
A pet photo to sketch converter can preserve a lot of personality, but it works best when the source photo already has clean detail. If the fur is blurred, the eyes are hidden, or the background is crowded, the final sketch may look busy instead of expressive.
Best Inputs
The pet photos that usually become the strongest sketches
Pet sketches are more sensitive to photo quality than many other subjects. A product or building can still work when the texture is simple, but fur contains hundreds of small directional lines. If the original photo is soft or dark, those lines can merge into heavy shading.
Before uploading, look at the photo at full size. If you can clearly see the eyes, nose, whiskers, fur edge, and head silhouette, the sketch has a much better starting point.
- Use a close portrait where the pet's face fills most of the frame.
- Choose natural side light or soft window light instead of direct flash.
- Pick photos where the eyes are open, sharp, and not covered by shadow.
- Keep the background simple so fur edges do not blend into furniture, blankets, or grass.
- Avoid motion blur, low-resolution screenshots, and photos taken from far away.
Important Details
How to protect fur, eyes, and face shape in a pet sketch
A good pet sketch is not just a drawing of fur. It needs a clear face structure first, then enough texture to suggest the coat. If every strand of fur becomes equally important, the sketch can lose the expression that made the photo worth saving.
Think in order of importance: eyes first, nose and muzzle second, ears and head shape third, then fur texture. The sketch should still feel like your pet even if some small coat detail is simplified.
- For long-haired pets, use a photo with clear fur direction around the face and chest.
- For dark pets, avoid dark backgrounds because the silhouette can disappear.
- For white or light pets, use side lighting so the converter can see the coat shape.
- For pets with markings, choose a photo where those markings are visible but not blown out by light.
- For memorial or gift sketches, prioritize the expression over a complicated full-body pose.
Workflow
Step-by-step: turn a pet photo into a cleaner sketch
You do not need to edit the image heavily before converting it. A few simple choices usually matter more than complex photo processing: crop tighter, keep the face sharp, and check whether the sketch still looks like the pet at a glance.
Pick a sharp face-forward photo
Start with a photo where the eyes and nose are in focus. A slight angle is fine, but avoid images where the pet is turning away, running, or hidden by heavy shadow.
Crop around the head and upper body
Remove extra floor, furniture, people, toys, and background clutter. A tighter crop helps the sketch spend more detail on the face instead of the room.
Choose pencil sketch for texture
Use a pencil sketch style when you want fur texture and soft shading. Use line drawing only if you want a simpler outline, and coloring page only if you need broad white spaces for coloring.
Review the eyes and silhouette first
After conversion, check whether the eyes, nose, ears, and head outline still read clearly. If those areas work, small fur simplifications usually feel natural.
Troubleshooting
How to fix a pet sketch that looks too busy or too dark
When a pet sketch looks muddy, the converter is often trying to describe too many similar textures at once: fur, blankets, grass, carpet, and shadows. The fastest fix is to reduce what the image asks the sketch to preserve.
A cleaner crop usually beats a more complicated workflow. If the face is sharp and the background is quiet, the sketch has room to keep the details that actually matter.
- If the fur becomes noisy, use a closer crop around the face and chest.
- If the eyes lose detail, start with a sharper photo where the eyes catch light.
- If a dark pet turns into a heavy patch, choose a brighter image with background separation.
- If whiskers disappear, use a higher-resolution source photo with less compression.
- If the sketch feels generic, try a photo with a more recognizable pose or expression.
Use Cases
Good uses for pet photo sketches
Pet sketches work well when the photo has personal meaning. A clean sketch can become a framed keepsake, a small gift, a profile image, a craft reference, or a starting point for a memorial portrait.
The same preparation rules apply whether the subject is a cat, dog, rabbit, horse, or another companion animal. Clear expression, readable silhouette, and simple lighting matter more than the species.
- Cat and dog portrait sketches for gifts, keepsakes, and wall art.
- Memorial pet sketches where expression and recognizable markings matter.
- Profile images and social posts that need a softer hand-drawn look.
- Craft references for tracing, embroidery, cards, or printable projects.
- Simple pet coloring pages when you choose a cleaner outline style instead of pencil sketch.
FAQ
Pet photo to sketch FAQ
These are the questions people usually ask before turning a dog, cat, or other pet photo into a sketch.
What is the best photo for a pet sketch?
The best photo is a sharp, well-lit portrait where the pet's eyes, nose, ears, and head shape are easy to see. A simple background and close crop usually create cleaner results.
Can I turn a dog photo into a sketch?
Yes. Dog photos work well when the face is in focus, the fur is not hidden by heavy shadows, and the background does not compete with the outline of the head or body.
Can I turn a cat photo into a sketch?
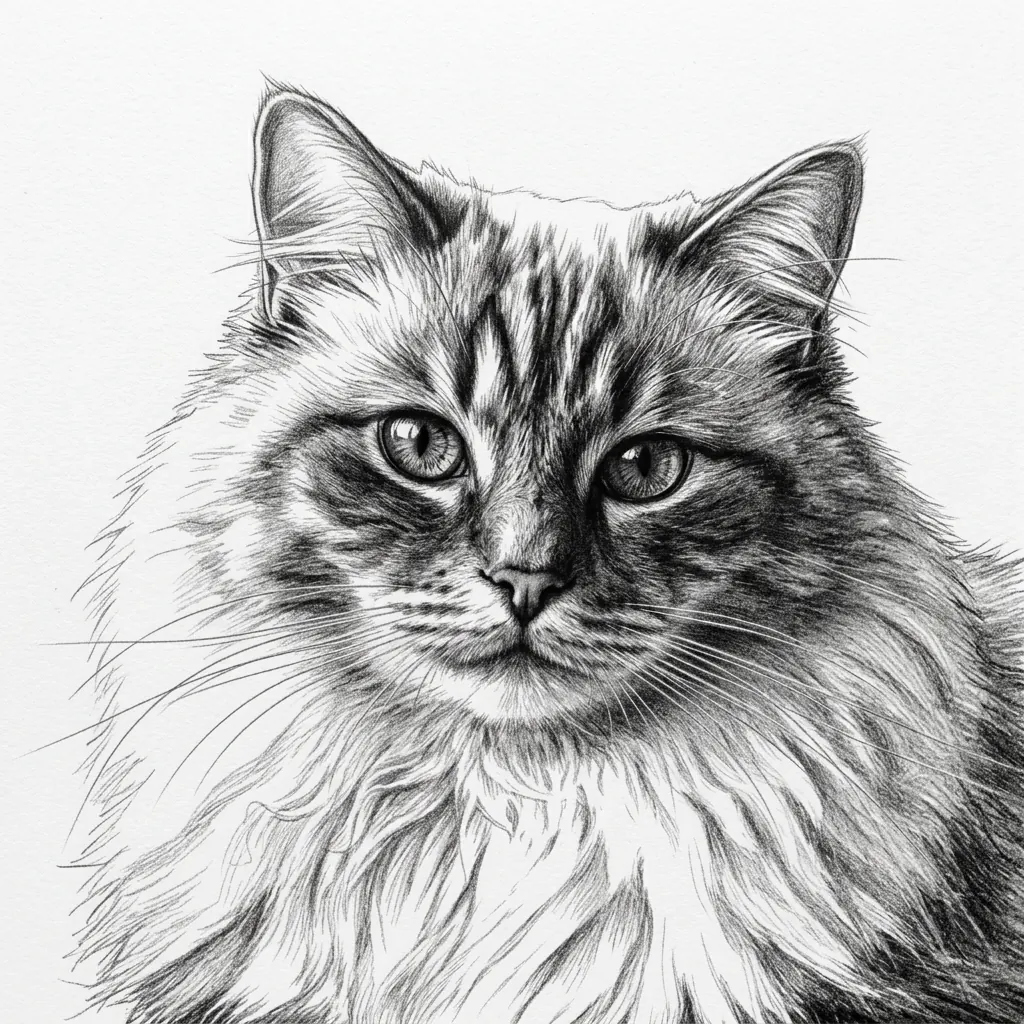
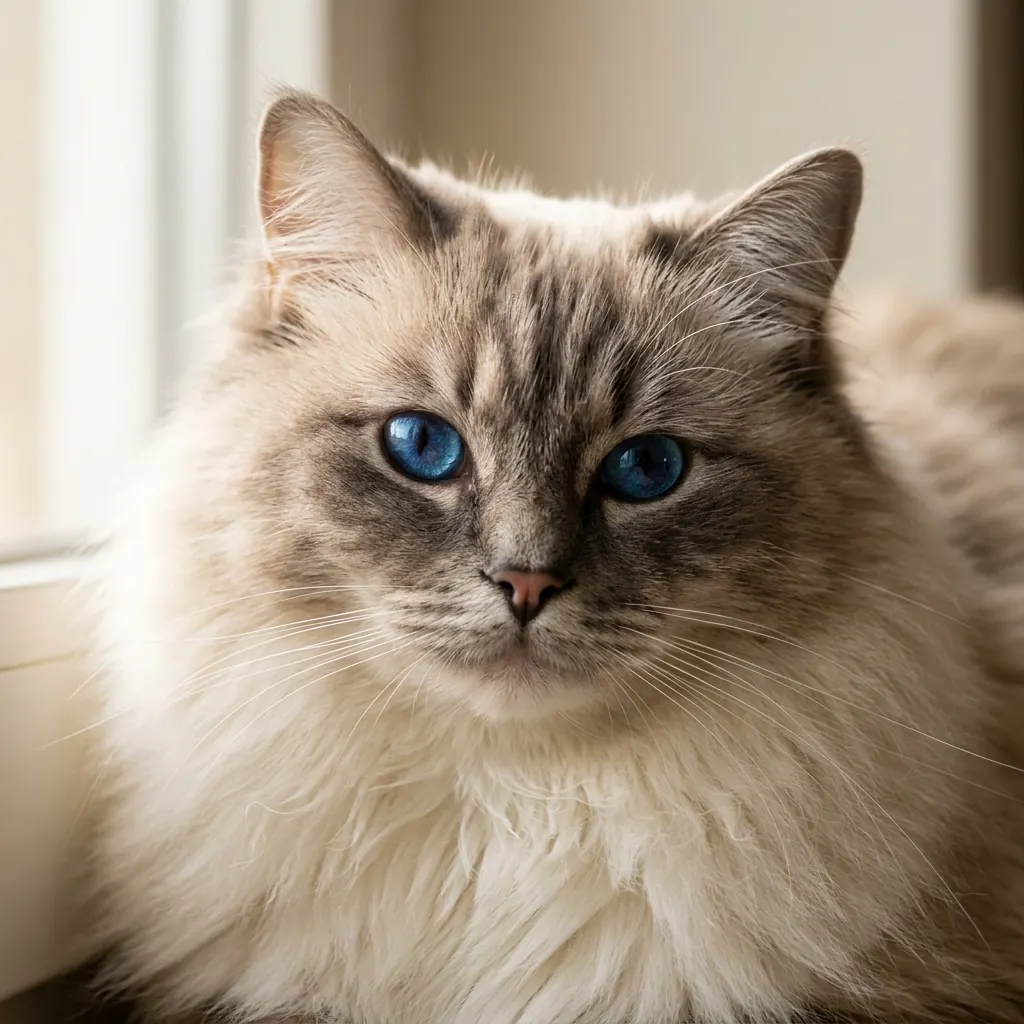
Yes. Cat portraits often make strong sketches because the eyes, whiskers, ears, and face markings give the converter clear details to preserve.
Why does my pet sketch look messy?
A messy pet sketch usually comes from motion blur, dark lighting, low resolution, or a background with too much texture. Crop closer and use a sharper, brighter photo.
Should I choose pencil sketch, line drawing, or coloring page for a pet?
Choose pencil sketch for fur texture and a portrait feel, line drawing for a cleaner outline, and coloring page when you want broad white space for printing and coloring.
Try your own pet photo
Upload a cat, dog, or other pet portrait and compare the pencil sketch result with the original photo.
Create a pet sketch